This
BASIC BREAD recipe will make 4 loaves of bread.
It will easily convert from a loaf to a roll and from white to wheat. It's not the best for every recipe that calls for a dough but it is extremely versatile for purposes of dinner.
BASIC BREAD
5 c. Hot Water
5 c. Flour
3 Tbs Yeast
Mix
1/2 c. Sugar
1/4 c. Oil
2 Tbs Salt
Mix
6-8 c. Flour
Place the first 3 ingredients in a mixing bowl. I like to use a cookie beater for this part. Blend until smooth, turn off the machine, and wait 5-10 minutes for the yeast to proof. Even if your yeast doesn't need proofing, I do not recommend skipping this step.
Once the dough has risen slightly and the little bubbles are forming, you are ready. Put in the dough hook, add the next 3 ingredients and mix.
Keep the mixer running this time, start adding the flour. You want to add slowly so as not to over flour the dough. As long as the dough is sticking to the side of the bowl, you need more flour. Let it mix in, then determine if the dough is still sticking to the bowl.
You will know the dough is ready when it pulls away from the sides and bottom of the bowl while the mixer is running. When you turn the mixer off, it should look like the picture.
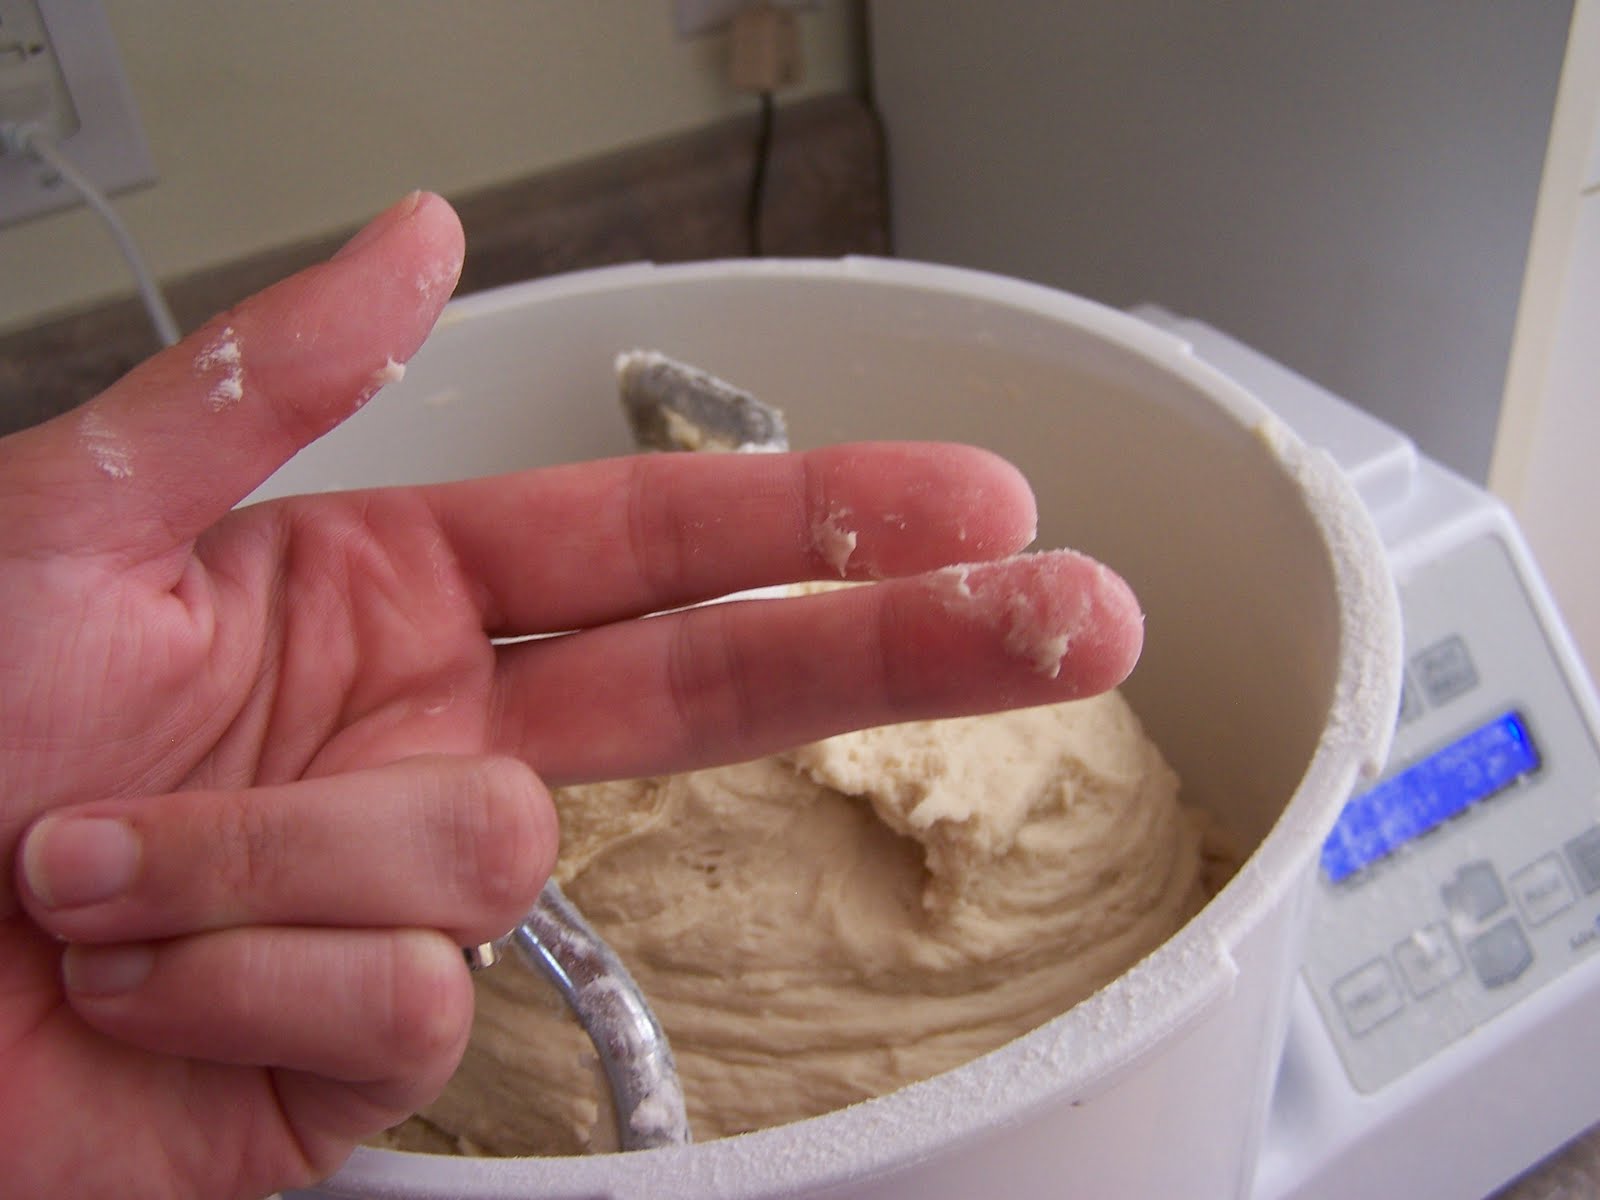
Once you determine the dough is ready, you can observed the texture of the dough by pinching a piece off with clean dry hands. After you try to put the pinch back, you will not be able too.
Even once you try real hard to clean your fingers...there will still be some residue.
This is a 'soft' dough. You will need to use lightly oiled hands to handle it. Turn out the dough into a lightly oiled bowl, turn once to coat the dough and cover lightly with plastic to keep from drying out.
Bread:
Let rise once, punch down to remove air. Divide into four pieces, shape into loaves and set in lightly greased pans. Let rise a second time, and bake.
Rolls:
You can skip the rising when you are in a hurry, however if you are not, the rise helps with the crumb of the bread.
Wheat v. White
For wheat, simply replace flour cup for cup, allowing that you will use less flour at the end of the recipe. Wheat flour absorbs more water than processed store bought white flour. You will also want to replace the sugar with brown sugar or honey which compliments the wheat flavor better than white sugar.
Stale or Old flour:
If any of you have food storage...you know sometimes the flour goes 'stale'. Sometime you grind the flour and then forget to use it, or you open up that can that dissapeared in the back for too long. You can tell by the smell. You can still use this flour and correct the flavor slightly by adding a little extra salt. Maybe 1-2 tsp for the above recipe.